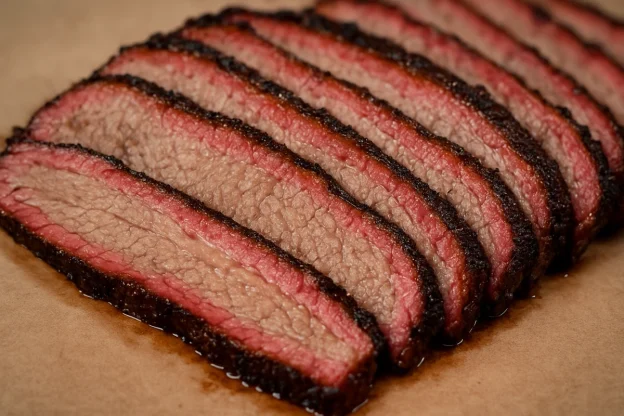
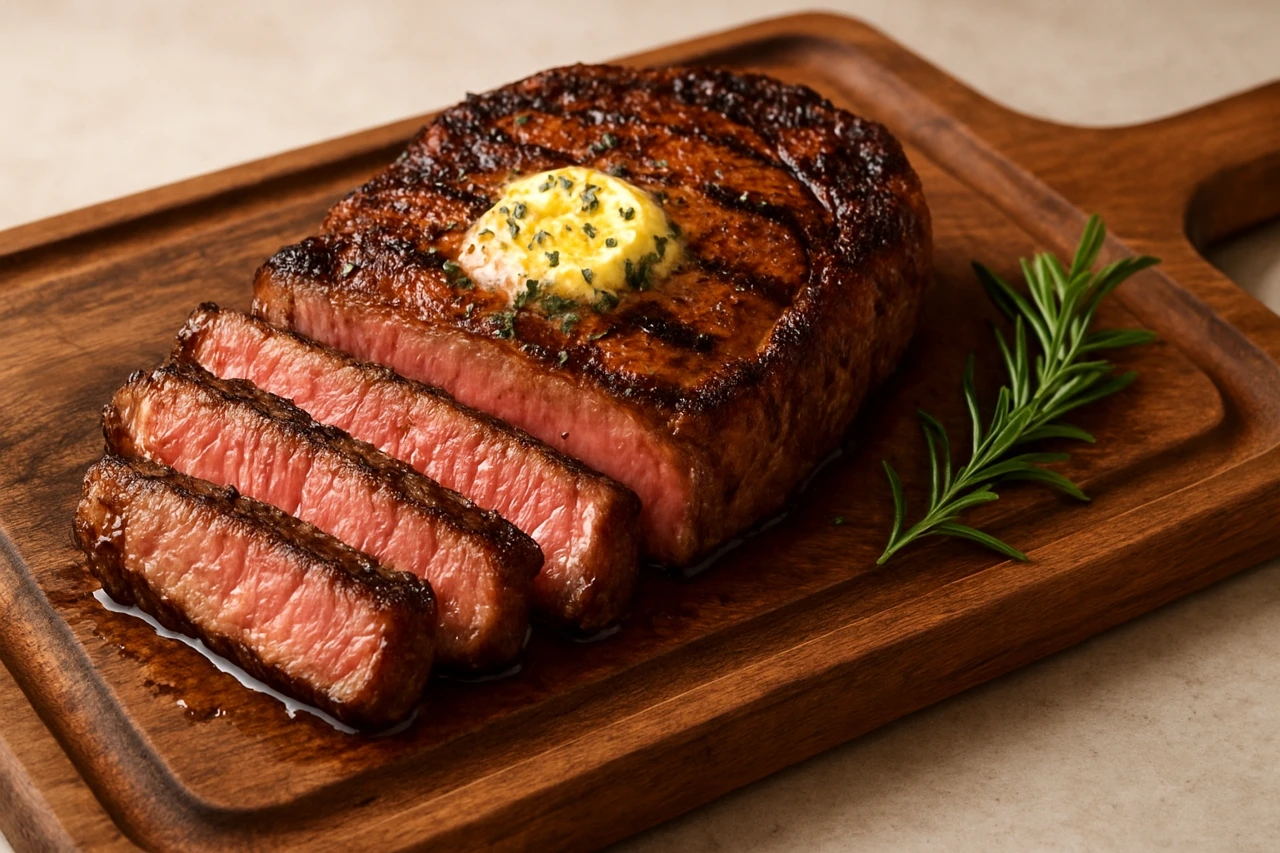
There are few culinary experiences more rewarding than slicing into a perfectly smoked, impossibly tender, and incredibly juicy Texas-style brisket. This isn’t just a meal; it’s an event, a journey of patience and fire that culminates in barbecue nirvana. The air fills with the rich aroma of smoked beef and oak, and the first bite – with its salty, peppery crust giving way to melt-in-your-mouth beef – is pure magic. This is the king of Texas barbecue, and today, you’re going to learn how to master it.
What makes this particular texas brisket recipe so special is its commitment to tradition and simplicity. We’re not hiding the magnificent flavor of the beef behind a dozen spices or a thick, sugary sauce. We’re honoring it. Using a simple “Dalmatian rub” of salt and pepper, we let the quality of the meat and the clean smoke do the talking. This guide is designed to demystify the process, turning what seems like a pitmaster’s secret art into a clear set of steps any home cook can follow to produce a legendary texas style beef brisket.
Key Information
- Difficulty: Medium
- Total time: 12-14 hours (including resting time)
- Active time: 1 hour
Why This Recipe Will Become Your Favorite?
- Authentic Texas Flavor: We stick to the basics that make Texas barbecue world-famous: just salt, pepper, and smoke. It’s pure, unadulterated beefy goodness.
- The Perfect “Bark”: Following our method for temperature management and wrapping creates that coveted dark, crispy, and flavorful crust known as the “bark.”
- Guaranteed Juicy Results: We’ll walk you through the critical wrapping and resting stages that ensure your brisket is tender and juicy, never dry.
- The Ultimate Showstopper: Whether it’s a family gathering or a weekend cookout with friends, placing this brisket on the table is a statement. Prepare for applause.
Required Equipment
- Smoker or Grill with Smoking Capability: A pellet smoker, offset smoker, or even a kettle grill set up for indirect heat will work.
- Digital Meat Thermometer: This is non-negotiable. An instant-read thermometer for checking and a leave-in probe thermometer for monitoring are ideal.
- Pink Butcher Paper: For wrapping the brisket. It’s breathable and superior to foil for maintaining a good bark.
- Large Cutting Board: You’ll need a big surface for trimming and slicing.
- Sharp Knives: A boning knife for trimming and a long slicing knife for serving.
- Spray Bottle: For spritzing the brisket during the cook.
Ingredients
For the Brisket
- 1 whole “packer” beef brisket: 5.5-7 kg (12-16 lbs), USDA Choice or Prime grade (This is a full brisket containing both the “flat” and “point” muscles. Quality matters, so opt for Prime if your budget allows).
- 2-3 tablespoons (30-45 ml) yellow mustard or light olive oil: (This is an optional binder to help the rub adhere to the meat).
For the Dalmatian Rub
- 1/2 cup (125 g) coarse kosher salt
- 1/2 cup (100 g) coarse ground black pepper (16-mesh is ideal)
For the Spritz
- 1 cup (240 ml) water
- 1 cup (240 ml) apple cider vinegar
Step-by-Step Instructions
Stage 1: Trimming and Seasoning the Brisket
- Chill the brisket. Place the brisket in the refrigerator or freezer for 30-45 minutes before trimming. Cold fat is much easier and safer to cut.
- Trim the fat cap. Place the brisket fat-side up. Trim the thick layer of fat, known as the fat cap, down to about a 1/4-inch (6 mm) thickness. You want enough fat to render and baste the meat, but not so much that it won’t render properly. Remove any large, hard chunks of fat.
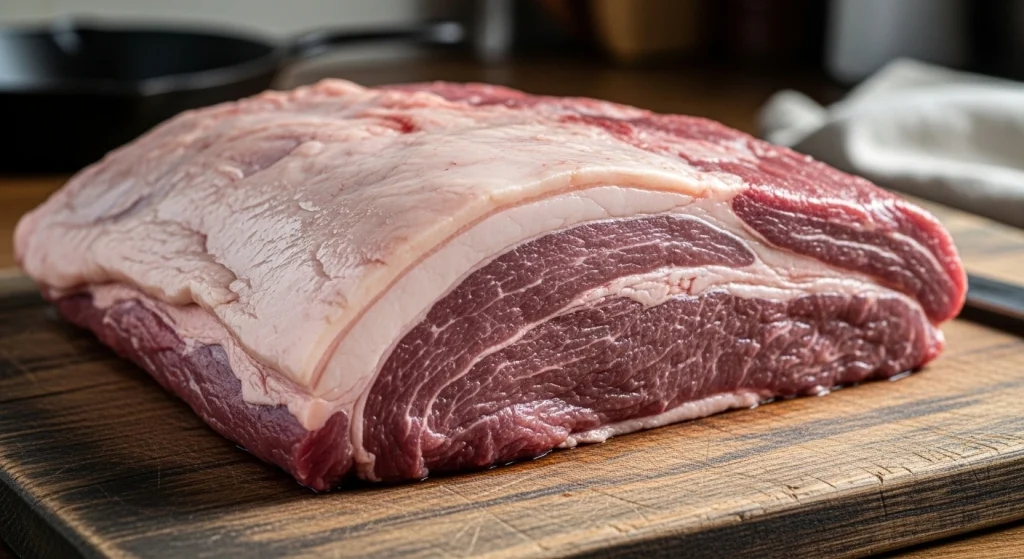
- Square up the brisket. Trim off any thin, dangly pieces of meat from the sides, as these will just burn. The goal is to create a more uniform, aerodynamic shape for even cooking.
- Apply the binder. Pat the brisket completely dry with paper towels. Apply a thin layer of yellow mustard or olive oil over the entire surface of the brisket. You won’t taste it in the final product; it’s just to help the rub stick.
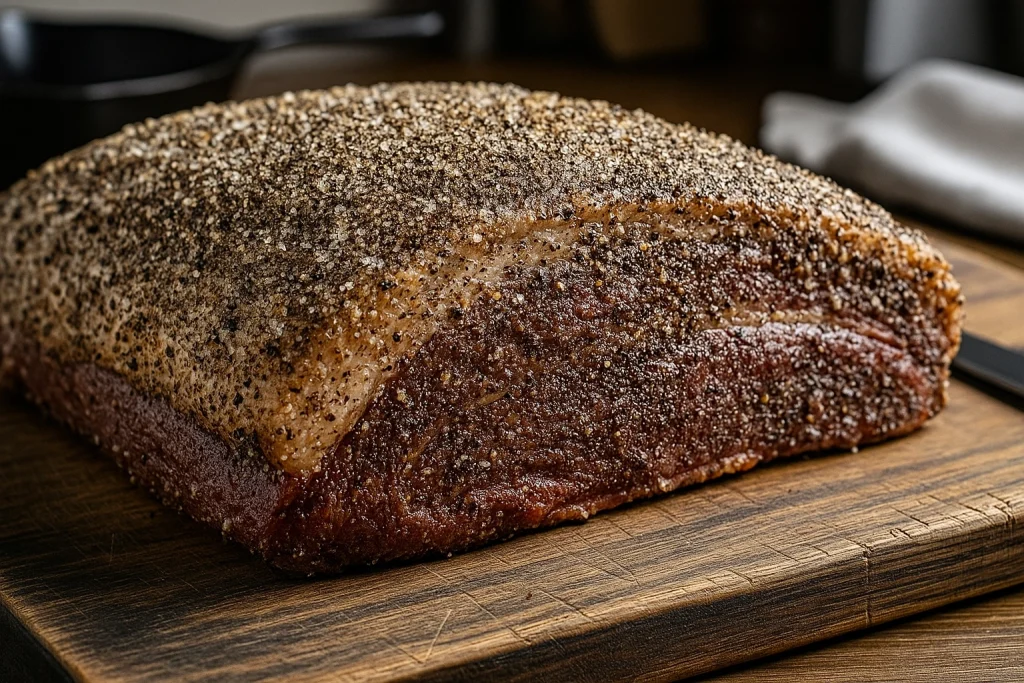
- Season generously. In a bowl, combine the kosher salt and coarse black pepper. Generously season the entire brisket on all sides with the rub. Don’t be shy! A large piece of meat needs a lot of seasoning to form the perfect bark. Let the seasoned brisket sit at room temperature while you prepare your smoker.
Stage 2: Smoking the Brisket
- Preheat your smoker. Preheat your smoker to 135°C (275°F). Oak is the traditional wood choice for a smoked texas beef brisket, but hickory or pecan also work well.
- Place the brisket in the smoker. Place the brisket on the smoker grate. The great debate is “fat-side up or fat-side down.” We recommend fat-side up for most smokers, as the rendering fat will baste the meat. Place a leave-in thermometer probe into the thickest part of the flat.
- Smoke until the stall. Smoke the brisket for 4-6 hours. During this time, the bark will begin to form and turn a dark mahogany color. After the first 3 hours, begin spritzing the brisket with the water and vinegar mixture every 45-60 minutes to keep the surface moist.
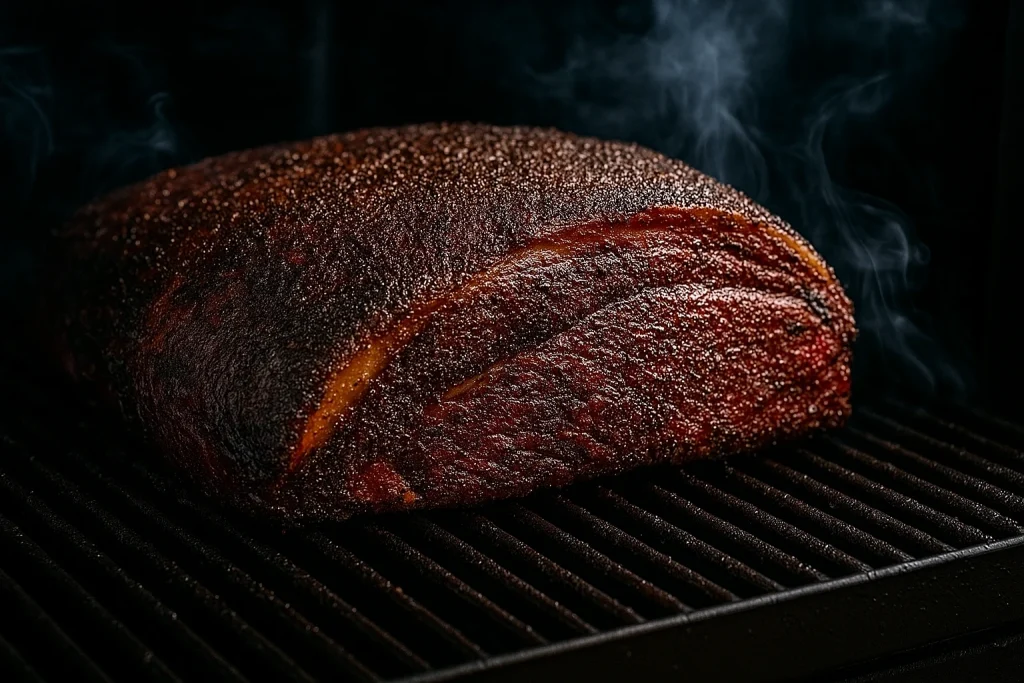
- Monitor “the stall.” The brisket will cook until it reaches an internal temperature of around 70-75°C (160-165°F). At this point, the temperature will likely stop rising for several hours. This is called “the stall,” and it’s completely normal. This is our cue to wrap.
Stage 3: The Wrap (The Texas Crutch)
- Wrap the brisket. Lay out two large overlapping sheets of pink butcher paper. Place the brisket in the center. Wrap it as tightly as you can, folding the edges over to create a sealed package. Butcher paper allows the brisket to breathe, preserving the bark while powering through the stall.
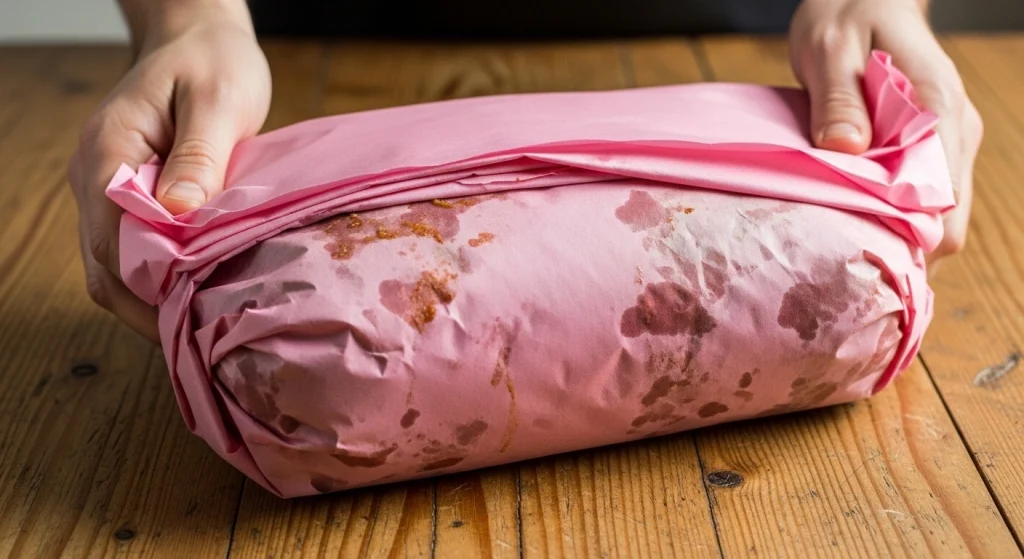
- Return to the smoker. Place the wrapped brisket back in the smoker with the thermometer probe re-inserted. Continue cooking until the internal temperature reaches approximately 95°C (203°F).
Stage 4: Finishing and Resting
- Check for tenderness. The temperature is just a guide. The real test is feel. The brisket is done when the thermometer probe slides into the meat with almost no resistance, like probing a jar of peanut butter. This is “probe tender.”
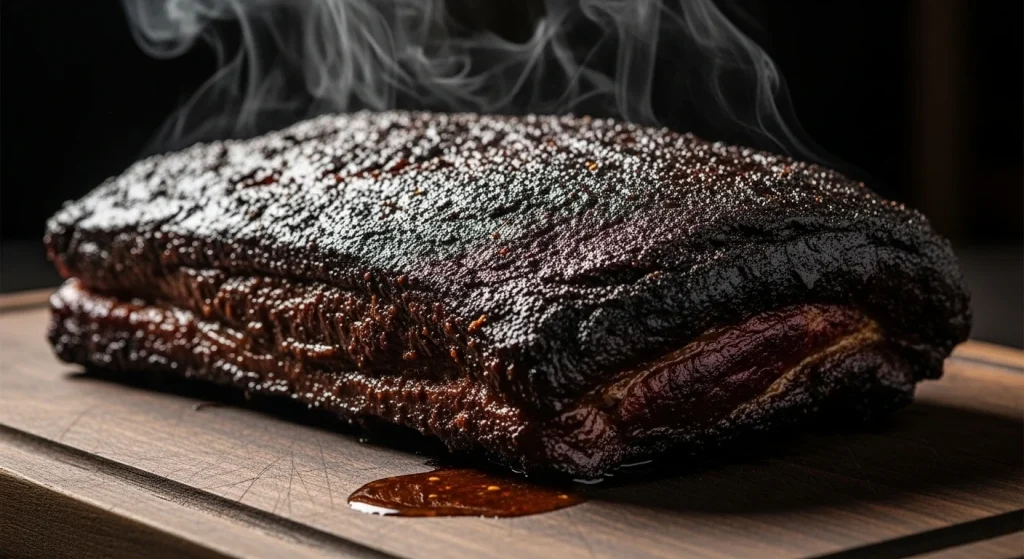
- Rest the brisket. This is the most important step! Remove the brisket from the smoker and let it rest, still wrapped, in a dry, insulated cooler (without ice) or a turned-off oven. Let it rest for a minimum of 1 hour, but 2-3 hours is even better. This allows the juices to redistribute throughout the meat, ensuring a moist final product.
Stage 5: Slicing and Serving
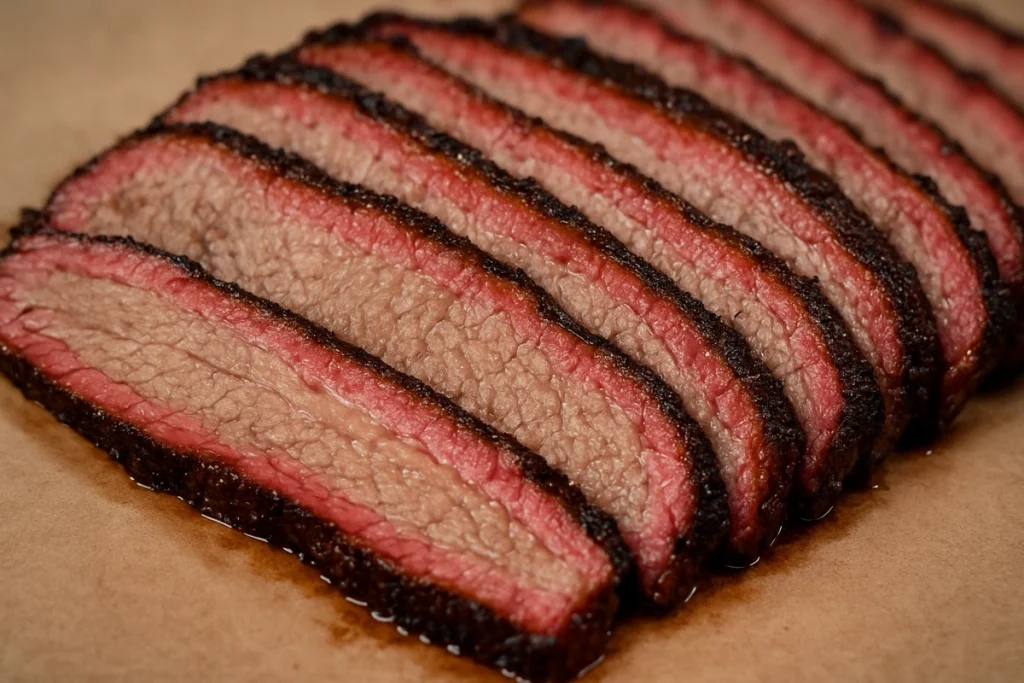
- Identify the two muscles. Unwrap the brisket. You’ll see the flat (the leaner, longer muscle) and the point (the fattier, thicker muscle) are separated by a line of fat.
- Slice against the grain. Slice the flat portion into pencil-thick slices against the grain. Once you reach the point, rotate it 90 degrees and slice it against its grain. The point can be sliced thicker or cubed for burnt ends.
Chef’s Tips
- Cook to Feel, Not Time: Every brisket is different. The 95°C (203°F) mark is a great guideline, but always trust the feel of the probe. If it’s not tender, it’s not done.
- Don’t Skip the Rest: I cannot stress this enough. Slicing into a brisket too early will cause all its precious juice to run out onto the cutting board. Patience here pays off more than anywhere else.
- Start with Quality Meat: The final product is only as good as what you start with. Using a USDA Choice or, ideally, Prime grade brisket will make a massive difference in the final texture and flavor.
- Fire Management is Key: The goal is steady, low temperature and clean smoke. Avoid thick, white, billowing smoke, which will make the meat bitter. You’re looking for thin, almost invisible “blue” smoke.
Variations and Adaptations
- Spicy Kick: Add 2 tablespoons of cayenne pepper or chipotle powder to the rub for a Texas-style brisket with some heat.
- Coffee Rub: For an even deeper, richer bark, add 2-3 tablespoons of finely ground coffee to your salt and pepper mixture.
- Burnt Ends: Once the brisket is cooked, cube the fatty point muscle, toss the cubes in a little of your favorite BBQ sauce, and return them to the smoker in a pan for another hour until caramelized.
Serving and Storage
Serve your smoked Texas-style brisket immediately after slicing. Classic accompaniments include white bread, dill pickles, sliced onions, potato salad, and coleslaw.
Leftovers can be stored in an airtight container in the refrigerator for up to 4 days. For longer storage, wrap slices tightly or vacuum seal them and freeze for up to 3 months. Reheat gently in a pan with a splash of beef broth to prevent drying out.
Frequently Asked Questions (FAQ)
Question: What exactly is “the stall” and why does it happen?
Answer: The stall is a phenomenon where a large cut of meat like brisket stops cooking, typically around 70°C (160°F). It happens due to evaporative cooling – the moisture evaporating from the brisket’s surface cools the meat, stalling the temperature rise. Wrapping the brisket (the “Texas Crutch”) traps some of that moisture, increasing humidity and helping the meat power through the stall.
Question: Can I make this recipe in a regular oven?
Answer: You can cook a brisket in an oven, but you will miss the essential smoke flavor that defines this dish. To mimic it, you could add a few drops of liquid smoke to your binder. Follow the same temperature and wrapping guidelines. The result will be a tender piece of beef, but it won’t be a true smoked brisket.
Question: I don’t have butcher paper. Can I use aluminum foil?
Answer: Yes, you can use aluminum foil, but it will change the result. Foil is not breathable, so it will steam the brisket, making it very tender but potentially softening the bark you worked so hard to create. If you use foil, you may want to unwrap the brisket for the last 30 minutes of cooking to help firm up the crust.
Your Barbecue Journey Awaits!
You now have the knowledge and the roadmap to create a truly spectacular Smoked Texas-Style Brisket. Don’t be intimidated by the long cooking time; most of it is just waiting. Embrace the process, trust your thermometer, and prepare for the best brisket you’ve ever tasted.
I’d love to see your results! Try this recipe, gather your family, and make some delicious memories. Share your photos and experiences in the comments below!

