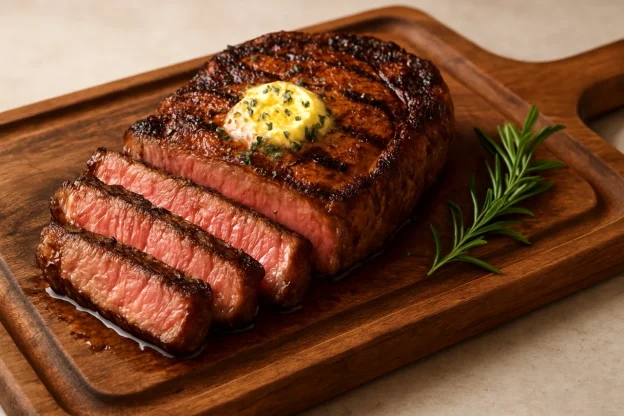
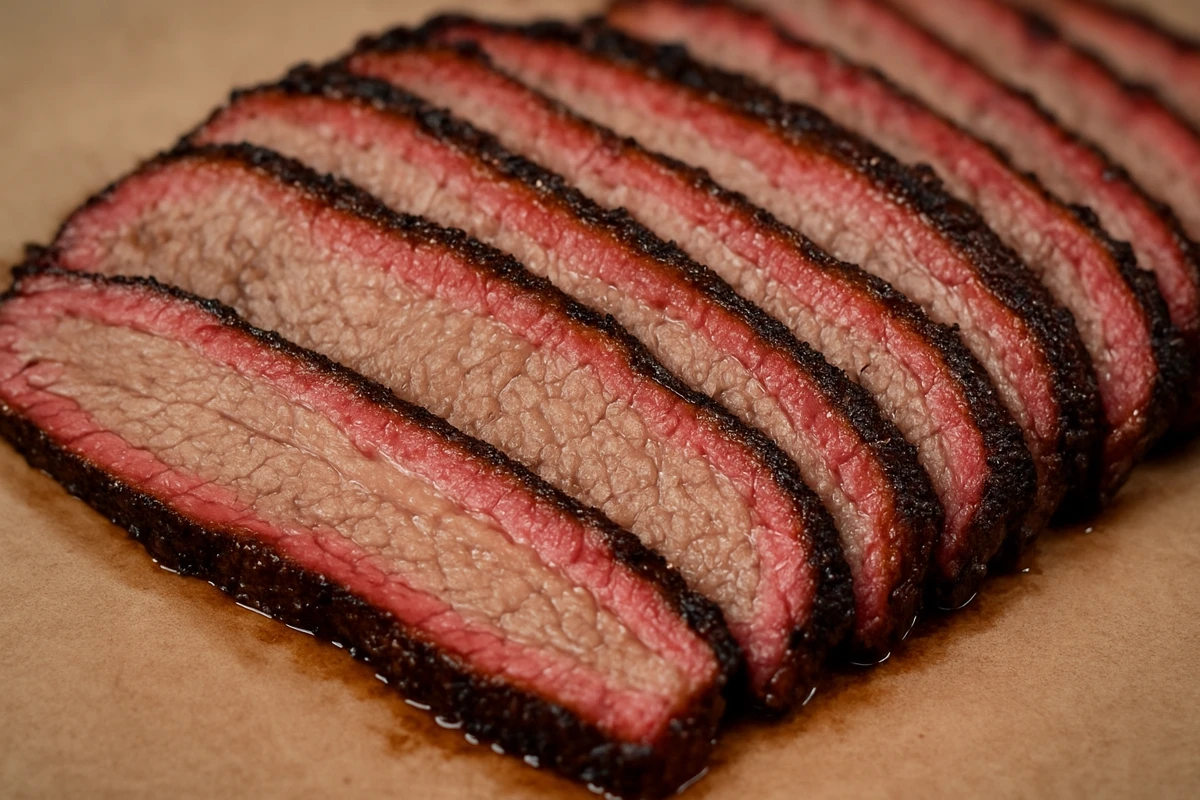
There are few culinary moments more satisfying than slicing into a perfectly cooked steak. The deep, mahogany crust crackles slightly under the knife, giving way to a tender, juicy, and uniformly pink interior. For years, I chased this steakhouse-level perfection at home, often ending up with a frustratingly grey, overcooked band of meat just beneath the surface. Then, I discovered the reverse sear method, and it changed my grilling game forever.
This isn’t just another recipe; it’s a technique that guarantees an impeccably cooked steak every single time. By slowly bringing the beef up to temperature before giving it a final, blistering sear, we eliminate the guesswork and ensure edge-to-edge perfection. This is truly the best way to cook rib eye steak on your grill, turning a beautiful cut of meat into a masterpiece. Whether you’re planning a special family dinner or looking to impress your guests, this beef rib steak recipe grill guide will make you the undisputed hero of the backyard barbecue.
Key Information
- Difficulty: Easy to Medium
- Total time: 1 hour 30 minutes (includes resting time)
- Active time: 15 minutes
Why This Recipe Will Become Your Favorite?
- Foolproof, Perfect Results: The reverse sear method gives you ultimate control over the internal temperature, virtually eliminating the risk of overcooking. You’ll get that perfect medium-rare from edge to edge every time.
- Maximum Tenderness and Flavor: Cooking the steak low-and-slow first allows the enzymes in the meat to work their magic, resulting in an exceptionally tender and flavorful bite.
- The Ultimate Steakhouse Crust: A quick rest before the final sear dries the surface of the steak, allowing you to achieve an incredibly deep, dark, and delicious crust in just a minute or two.
- Versatile Technique: While perfect for a gas grill, this method works beautifully on a charcoal grill, a pellet smoker, or even in your oven.
Required Equipment
- Grill: A gas or charcoal grill with at least two zones (one for indirect heat, one for direct heat).
- Instant-Read Digital Meat Thermometer: This is non-negotiable for this recipe. Precision is key to success.
- Heavy-Duty Tongs: For safely handling the hot steak.
- Baking Sheet with a Wire Rack: To allow for even air circulation around the steak.
- Cutting Board with Juice Groove: For resting and slicing.
Ingredients
For the Steak:
- 1 bone-in or boneless Ribeye Steak: Aim for a thick cut, at least 1.5 to 2 inches (4-5 cm). This is crucial for the method to work well. Look for one with bright red color and generous marbling (the white flecks of fat).
- 1 tbsp (15 g) Coarse Sea Salt or Kosher Salt: The coarse texture is key for creating a good crust.
- 1 tbsp (15 g) Coarsely Ground Black Pepper
- 1 tbsp (15 ml) High-Smoke-Point Oil: Such as canola, grapeseed, or avocado oil.
For the Optional Garlic Herb Butter (highly recommended):
- 2 tbsp (30 g) Unsalted Butter: Softened.
- 1 Clove Garlic: Finely minced.
- 1 tsp Fresh Thyme or Rosemary: Finely chopped.
Step-by-Step Instructions
Step 1. Preparing the Steak
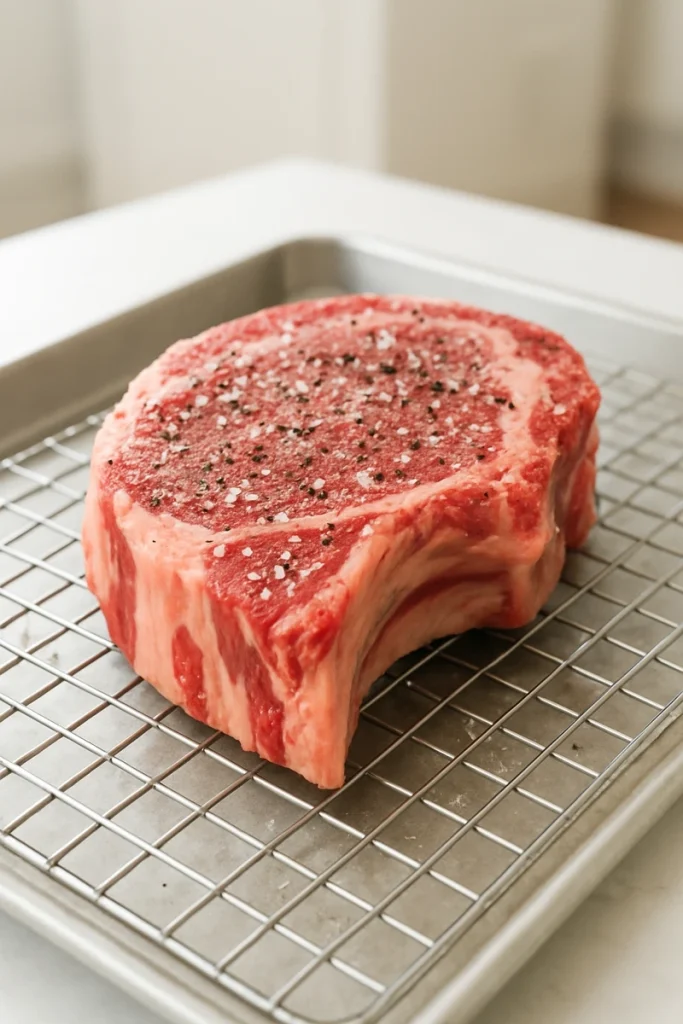
- Pat the steak completely dry with paper towels. Moisture is the enemy of a good sear.
- Season generously on all sides (including the edges) with coarse salt and black pepper. Be more generous than you think you need to be; a lot will fall off during grilling.
- Place the seasoned steak on a wire rack set over a baking sheet. Let it sit at room temperature for at least 45 minutes, or for best results, place it uncovered in the refrigerator for several hours to dry-brine.
Step 2. The “Reverse” – Gentle Grilling
- Preheat your grill for two-zone cooking. For a gas grill, light one or two burners on low and leave the other burner(s) off. For a charcoal grill, arrange the hot coals on one side of the grill. Your target temperature on the indirect (cool) side should be around 225-250°F (107-121°C). This is the key to successfully grilling a ribeye steak on gas grill using this method.
- Place the steak on the wire rack on the cool, indirect heat side of the grill. Close the lid.
- Cook the steak slowly, flipping it once halfway through, until the internal temperature is about 10-15°F below your target final temperature. An instant-read thermometer is your best friend here.
- For Medium-Rare: Pull at 115-120°F (46-49°C).
- For Medium: Pull at 125-130°F (52-54°C).
- The grilling ribeye steak time for this stage will be approximately 45-60 minutes, depending on the thickness of your steak and the exact temperature of your grill. Trust your thermometer, not the clock.
Step 3: The “Sear” – Creating the Perfect Crust
- Once the steak reaches your target pull-temperature, remove it from the grill and let it rest on a cutting board for 10-15 minutes. Do not tent it with foil.
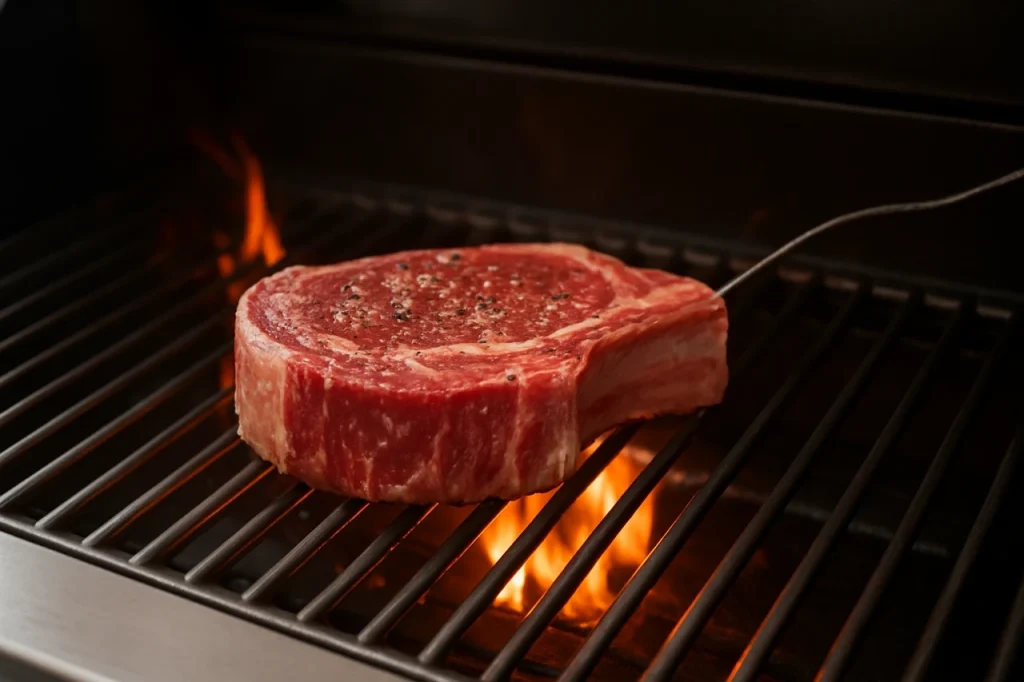
- While the steak rests, crank up the heat on your grill to the maximum. Get the direct-heat side as hot as you possibly can – we’re talking 500-600°F (260-315°C) or higher.
- Lightly brush the steak with your high-smoke-point oil.
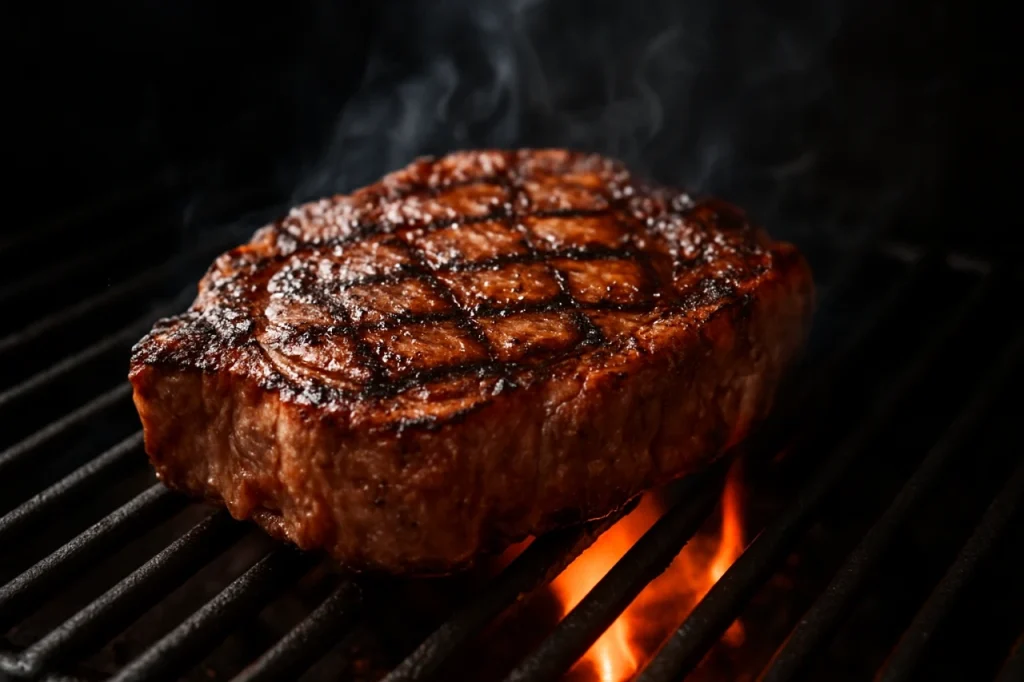
- Place the steak on the hottest part of the grill. Sear for 60-90 seconds per side, until a deep, dark brown crust forms. If you like, you can also sear the fat cap on the edge of the steak.
Step 4: Resting and Slicing
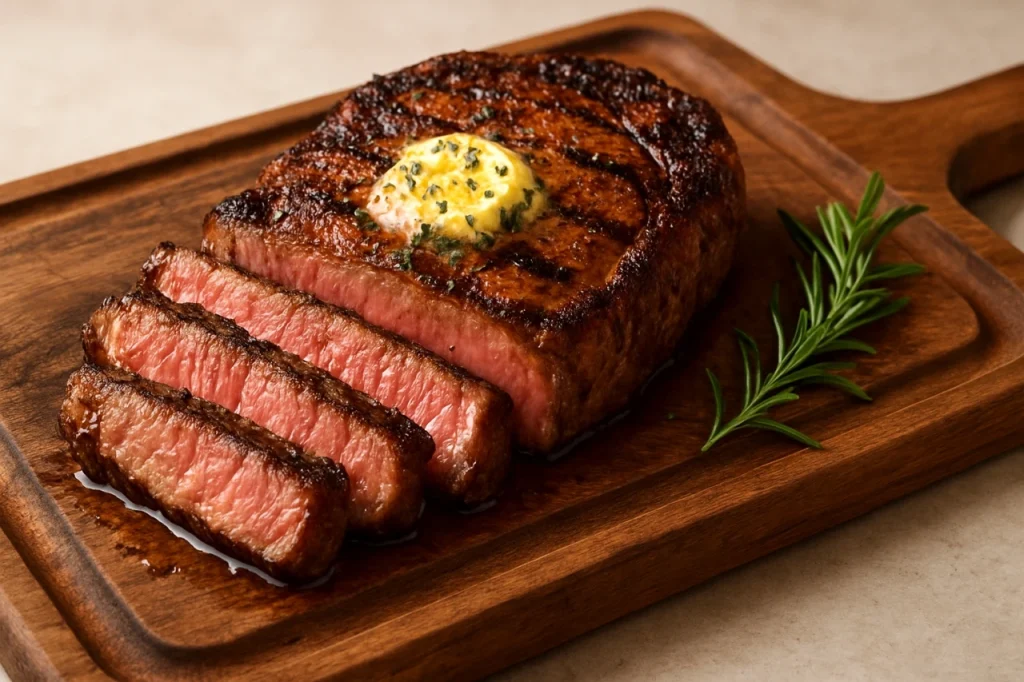
- Immediately transfer the seared steak to your cutting board. If using, top it with a pat of the Garlic Herb Butter and let it melt over the top.
- Let the steak rest for a final 10 minutes. This allows the juices to redistribute throughout the meat, ensuring every bite is succulent.
- Slice the steak against the grain into thick strips and serve immediately.
Chef’s Tips
- Don’t Skip the Rest! The two resting periods – one before the sear and one after – are absolutely critical. The first dries the surface for a better crust, and the final rest ensures a juicy steak.
- A Thermometer is a Must: To grill a perfect ribeye, you cannot rely on touch or time alone. An accurate instant-read thermometer is the single most important tool for this technique. It’s the difference between perfection and disappointment.
- Buy the Thickest Steak You Can Find: This method works best with steaks that are at least 1.5 inches thick. A thinner steak will cook through too quickly during the initial slow-grilling phase.
- Salt in Advance: For the most flavorful results, salt your steak and let it rest uncovered in the fridge for at least a few hours, or even overnight. This process, called dry-brining, draws out moisture and then reabsorbs the salty brine deep into the meat.
Variations and Adaptations
- Spice it Up: Feel free to add other seasonings to your initial rub. Granulated garlic, onion powder, or a touch of smoked paprika are all fantastic additions.
- Smoky Flavor: If using a charcoal grill, add a chunk of hickory or oak wood to the coals during the low-and-slow cooking phase for an extra layer of smoky flavor.
- Pan-Seared Finish: Don’t have a grill that gets screaming hot? You can finish the steak in a cast-iron skillet on your stovetop. Get the skillet smoking hot with a bit of oil and sear as instructed. This is a great way to baste with the garlic herb butter in the final moments.
Serving and Storage
Serve this incredible ribeye with classic steakhouse sides like creamy mashed potatoes, grilled asparagus, or a simple wedge salad with blue cheese dressing. A bold Cabernet Sauvignon is the perfect wine pairing.
Leftover steak can be stored in an airtight container in the refrigerator for up to 3 days. To reheat, warm it gently in a low oven or slice it thin and use it for steak sandwiches or salads. Avoid the microwave at all costs!
Frequently Asked Questions (FAQ)
Question: Can I use this method for other cuts of steak?
Answer: Absolutely! The reverse sear is fantastic for any thick-cut steak, such as a New York strip, porterhouse, T-bone, or a thick-cut sirloin. The key is the thickness (1.5 inches or more).
Question: What if I don’t have a grill? Can I do this indoors?
Answer: Yes! You can perform the entire process in your oven and a cast-iron skillet. Cook the steak on a wire rack in a 250°F (121°C) oven until it reaches the target temperature. Then, rest it and sear it in a screaming hot, oiled cast-iron skillet on your stovetop for 60-90 seconds per side. Be sure to have good ventilation!
Question: Why do I need to rest the steak twice?
Answer: The first rest after the slow cook allows the steak’s surface to cool and dry slightly, which is essential for getting a rapid, deep brown crust without overcooking the interior during the sear. The final rest after the sear allows the muscle fibers to relax and reabsorb all those delicious juices, preventing them from spilling out onto your cutting board.
Ready to Grill the Best Steak of Your Life?
This best ribeye grill recipe is more than just a set of instructions – it’s your ticket to steak perfection. I promise that once you try the reverse sear method, you’ll never go back. So fire up that grill, grab a beautiful ribeye, and get ready for a truly unforgettable meal.
I’d love to see your results! Tag me on social media or leave a comment below to let me know how it turned out. Happy grilling!
